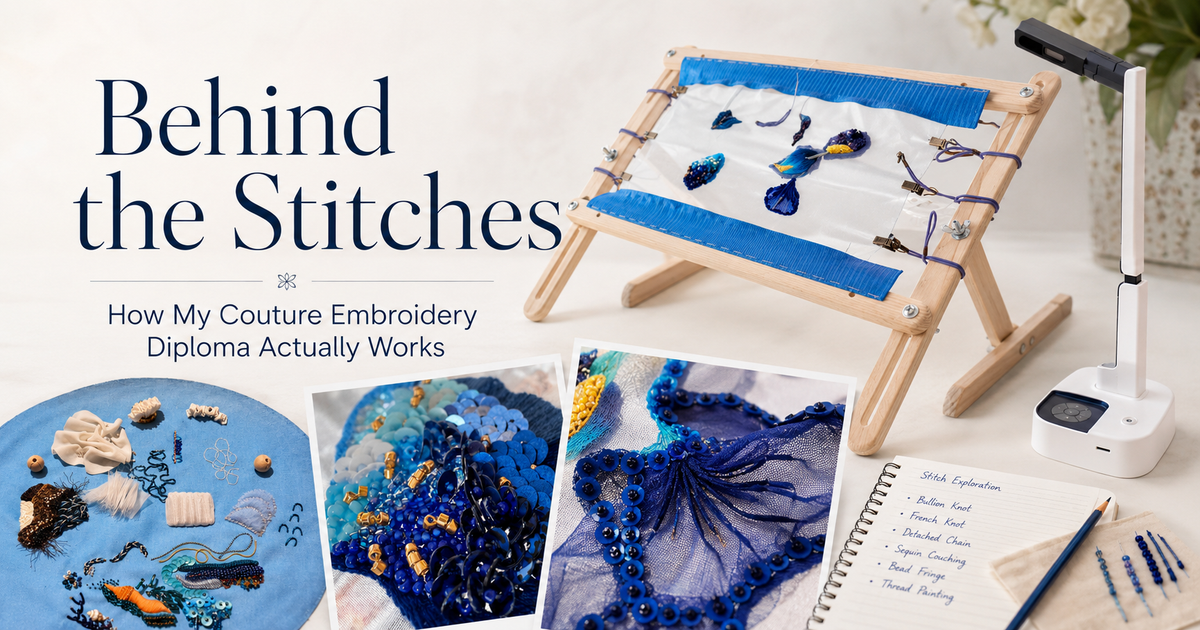
Behind the Stitches: How My Couture Embroidery Diploma Actually Works
Inside my couture embroidery diploma: online stitch lessons, visualizer demos, material kits, sampling, feedback, and the long road to final work.
This is the fourth post in my series on studying contemporary embroidery.
In my previous posts, I’ve discussed why I started, how I chose my school, and the almost cinematic history of Hand & Lock.
But now it’s time to get practical.
What does a professional “online embroidery diploma” actually look like from the inside?
Spoiler alert: it is not exactly a relaxing hobby with a cup of tea and one peaceful stitch each evening. 🤪
It is technical, intense, and surprisingly well organized — and, yes, a very serious rabbit hole.
The Roadmap: Five Modules, Three Stages
The diploma is structured into five modules, and each module follows the same three-stage progression:
- Learning the techniques
- Testing them through samples
- Applying them to the final embroidered piece
So first you learn the language, then you test your vocabulary, and only then do you attempt to write the full story in thread, beads, fabric, wire, and every other material that suddenly seems “absolutely necessary.”
Stage 1: Technical Training and the Visualizer Magic
For ten weeks, the focus is pure skill-building.
I attended one online lecture per week for each of my modules. My Thursdays were particularly intense — basically:
wake up, live life, embroider, breathe, embroider again.
You might wonder: how do you learn a 2 mm stitch over Zoom?
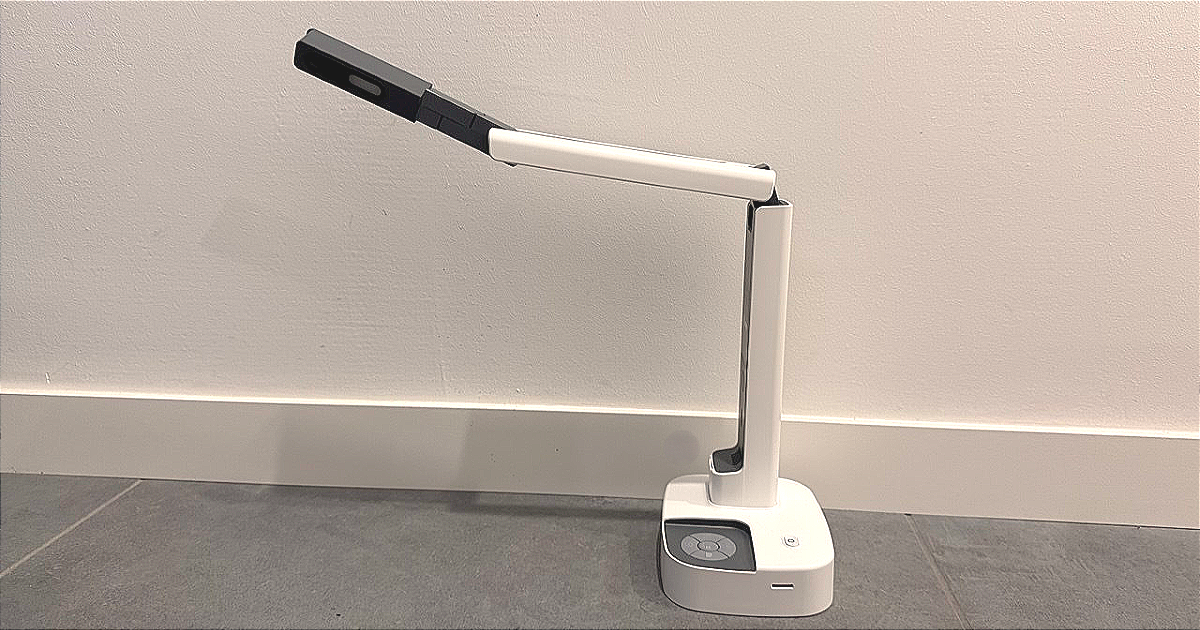
The secret is the visualizer.
Our tutors use high-definition cameras to show the needle angle, thread tension, and stitch direction in extreme close-up. For embroidery, this is not just a nice bonus. It is essential. Some stitches are so tiny that the difference between “correct” and “what happened here?” can be almost invisible at a normal viewing distance.
In some ways, it even feels better than standing at the back of an in-person class, because everyone gets a front-row view of the tiniest details.
And yes, inspired by the school, we now have our own visualizer at Ornamentico for future tutorials.
Apparently, embroidery equipment multiplies when you are not looking.
During the lesson, we stitch along in real time, take photos of our progress, and send them to the WhatsApp group for feedback.
Sometimes the response is: “Great work!”
Other times it is more like: “Good direction, but try again.”
And honestly, that is exactly why I’m there.
The Magic Box Convenience
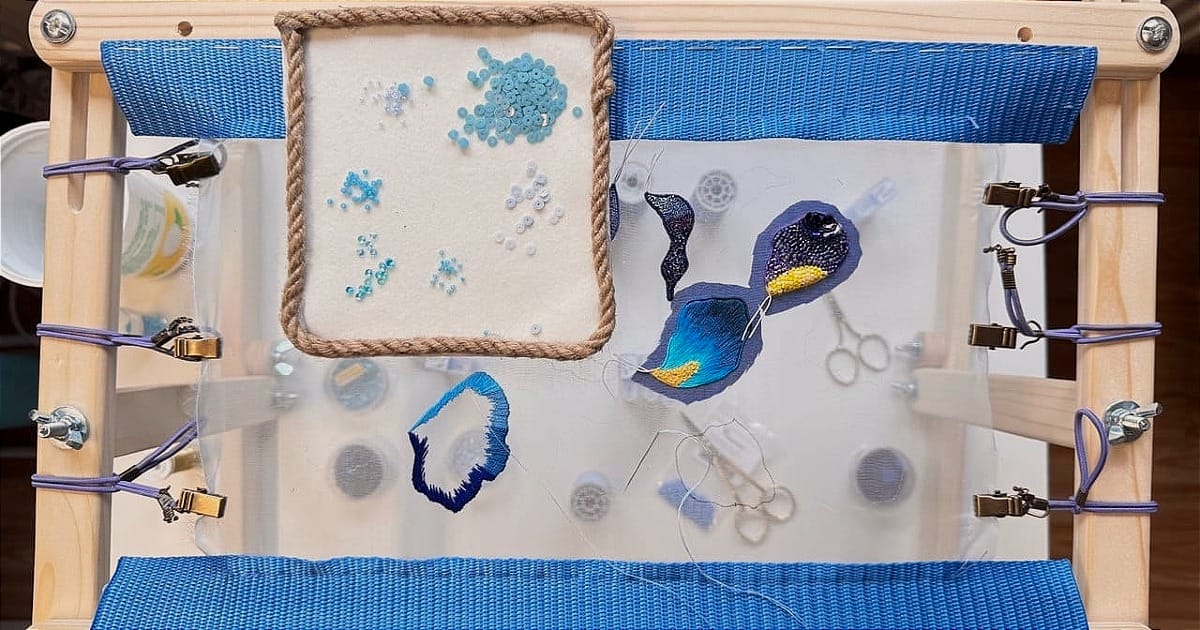
Before Stage 1 even begins, the material kit arrives.
This is a game-changer.
Instead of hunting for the correct fabric, thread, wire, beads, sequins, or some mysterious material you only learned existed five minutes ago, you open the box and everything is there.
You still need your own frame and scissors, but the main training materials are ready to go.
That may sound like a small thing, but for online learning, it makes a huge difference. You can focus on the technique rather than spend the first three weeks sourcing the right supplies.
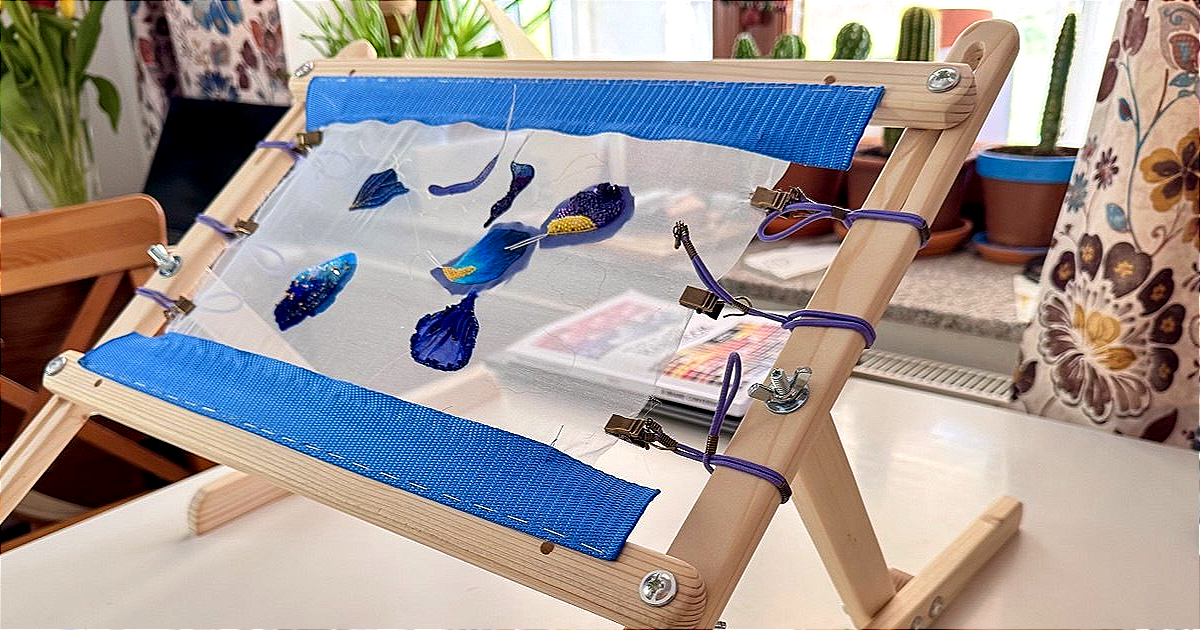
Stage 2: Sampling, or Where Plans Meet Reality
After ten weeks of classes, you enter the sampling stage.
This lasts eight weeks, and this is where your beautiful design ideas meet the realities of thread, fabric, gravity, tension, and your own patience.
Sampling is the stage of testing, failing, changing your mind, and occasionally staring at a tiny embroidered detail as if it had personally betrayed you.
For example, I originally thought I would use appliqué for a specific part of one design.
Then I made a sample.
Then I looked at it.
And now I am very much reconsidering my life choices — or at least that technique.
But that is exactly the point. You make the mistakes here before they become very expensive mistakes in the final piece.
By week 18, you submit a detailed project document — emotionally speaking, a small autobiography of your embroidery decisions.
It includes moodboards, sketches, the final design, technical drawings, stitch plans, material lists, and photographs of all samples.
At the moment, I have submitted one of my three documents.
And it is already May.
So yes, everything is completely under control. Obviously. 🤦♀️
Stage 3: The Long Game
Once the project document is reviewed and approved, the final stage begins: the embroidered piece itself.
We are given up to two years for this.
At first, that sounds generous.
Now that I am actually inside the process, it feels much shorter.
A final couture embroidery piece is not just “stitching.” It involves solving structural problems, choosing materials, correcting decisions, documenting the process, and executing slow, meticulous techniques that can take many, many hours.
So two years?
Very kind.
Also slightly terrifying. 🤪
Why the Online World Works
The most surprising part of this process is probably the community.
My group is made up of women from different places and with very different experience levels — from “never touched a bead” to “years of embroidery practice.”
And that mix is genuinely useful.
People share suppliers, tips, photos, links, experiments, and the occasional emergency message when a design suddenly refuses to behave.
It is a supportive, talented, and — let’s be honest — embroidery-obsessed little world.
And I love that.
What’s Next?
In the next post, I’ll dive into the modules in more detail.
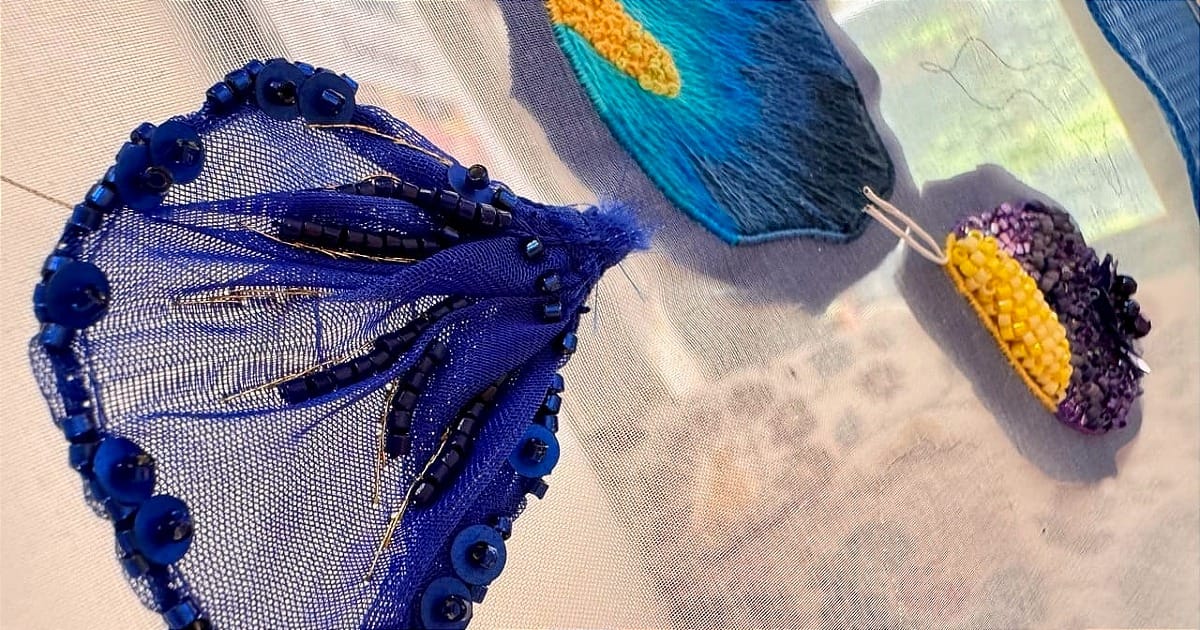
First up: 3D Contemporary Hand Beading, since it’s the first module, I’ve already submitted.
Get ready for serious texture, tiny decisions, and probably more chaos than expected.
If you missed the beginning, you can catch up here: