
How to Start a Peyote Stitch Bracelet With Just One Bead
A stop bead keeps the first two rows of flat peyote in place. Follow the 4:24 Ornamentico video and see where every bead goes.
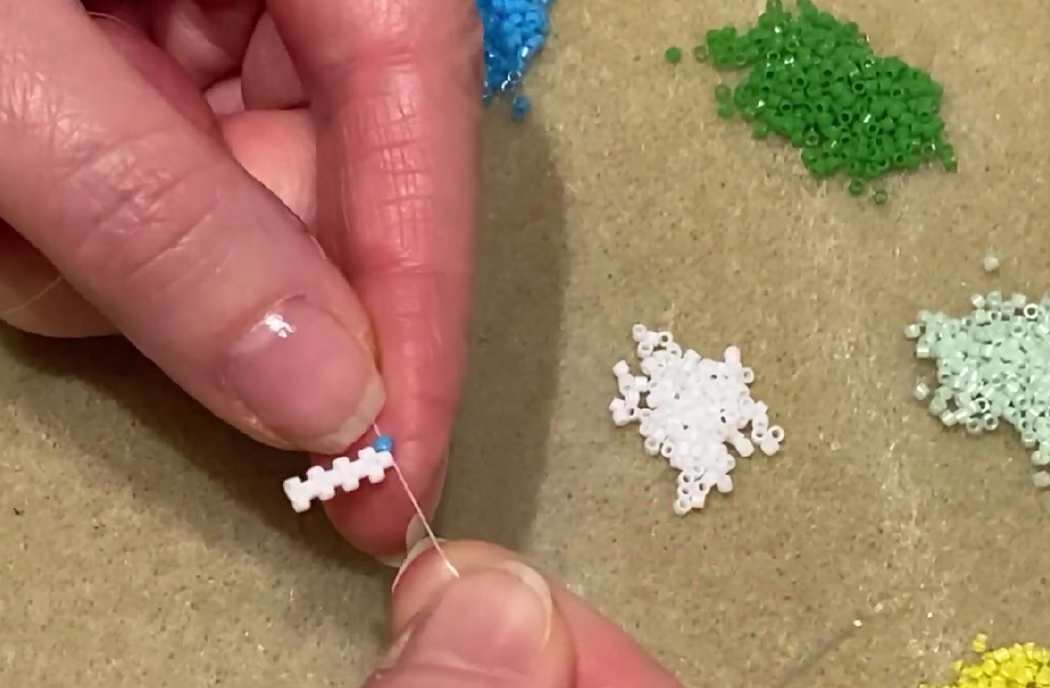
he awkward part of peyote stitch happens before the work looks like peyote. You have a loose line of beads, a chart that already assumes neat "up" beads, and almost nothing to hold.
A stop bead fixes that part. It keeps the first beads on the thread while you build the staggered rows. Once the structure holds its shape, the stop bead has finished its job.
The "one bead" in this method is that stop bead. It does not replace the first two rows, and it is not part of the bracelet design.
Watch the full Ornamentico tutorial above. It runs for 4 minutes and 24 seconds. The timestamps below match the chapters in the video.
Materials for this start
1. Miyuki Delica 11/0 beads or other evenly sized 11/0 seed beads
2. One stop bead in a color that is easy to distinguish from the bracelet
3. Beading thread, such as Miyuki thread, FireLine, WildFire, or another strong nylon beading thread
4. Size 10 to 12 beading needle
5. Scissors
6. Bead mat or soft cloth
7. Your peyote pattern or chart, if you are following one
Good light matters more than an elaborate setup. You need to see the bead holes and the alternating pattern clearly.
Start the bracelet along with the video
1. Secure the stop bead
Video: 0:00
Thread the needle and leave a tail of about 15 to 20 cm. Pick up the contrasting stop bead and slide it toward the tail. Pass through the same bead again.
Pull until the bead sits securely, but do not knot it into the work. Keep it separate from the colors in your design so you do not accidentally count it as part of the pattern.
2. String the beads for the first two rows
Video: 0:41
Read the first two rows of your chart in their starting order and pick up those beads. At this stage they will sit in one straight line. That is normal. The familiar staggered peyote shape appears when you work back through this line.
The stop bead keeps the line from slipping off the tail while you check the count and colors.
If you are making a bracelet without a chart, decide the width before you continue. Six to eight beads creates a narrow band. Twelve to eighteen beads gives more space for a wider motif. If you are using a pattern, follow its exact bead count instead.
3. Form the first "brick wall" row
Video: 1:21
Pick up the next design bead. Skip one bead in the base line, then pass the needle through the following bead. Pull the thread gently until the new bead settles above the bead you skipped.
Repeat the same movement across the row:
1. Pick up one bead.
2. Skip one bead in the base.
3. Stitch through the next bead.
As you continue, every other bead rises. This is the point where the loose line begins to look like peyote stitch.
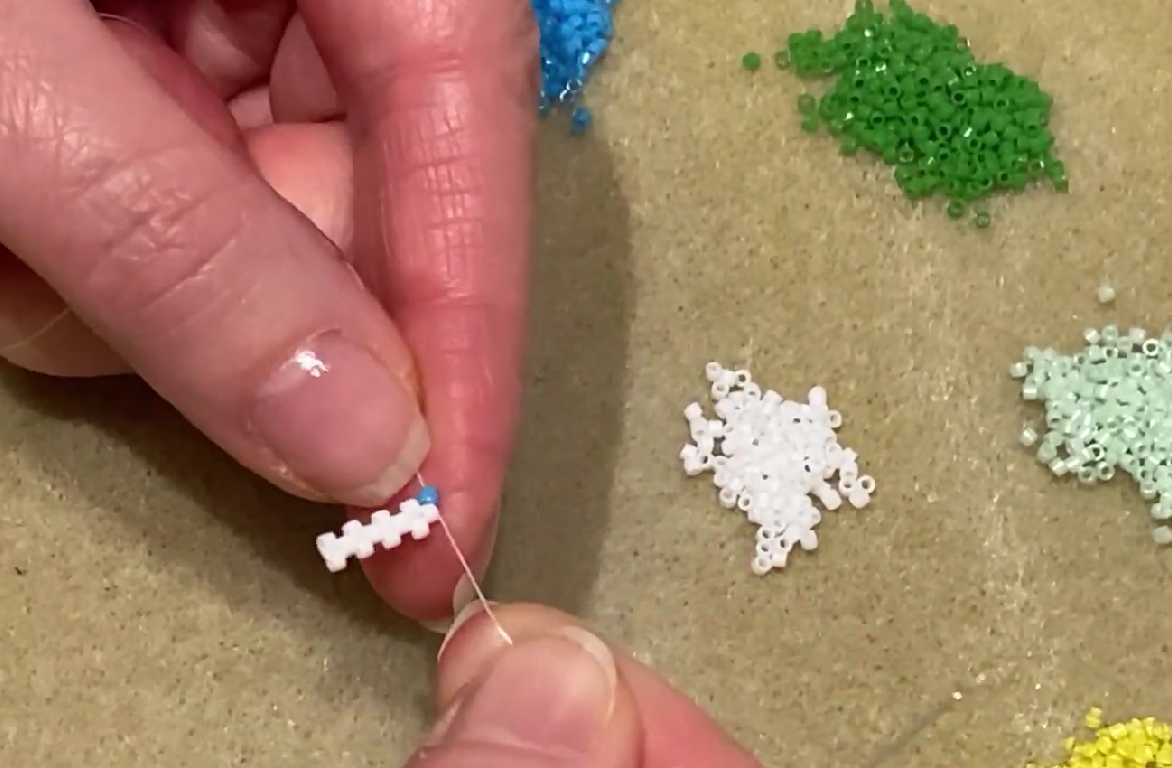
4. Check the edge and begin the fourth row
Video: 3:11
Before turning, look across the row. The raised beads should alternate evenly. If the pattern breaks, back out to the last correct stitch before pulling the thread tighter.
Turn the work and begin the next row. Pick up a bead and stitch through the next raised bead from the row below. The existing structure now guides the needle, so you no longer have to manage a loose starting line.
Even-count peyote has the simpler turn. Odd-count peyote needs an extra turn at one edge, so follow the turn shown in your pattern rather than forcing the even-count method onto it. The stop bead is useful for either start.
If the rows still look wrong
The first two rows look like one line. Do not try to force them into a staggered shape before adding the next row.
If the beads keep sliding toward the tail, check that the stop bead has a second pass of thread through it and move it closer to the work.
If a new bead will not sit above the skipped bead, ease the thread rather than yanking it. Use a fingertip or the needle to guide the bead into place, then tighten only enough to hold the shape.
If you lose the color order, stop at the last bead you recognize on the chart. It is quicker to back out one or two stitches now than to find the error several rows later.
A bead mat and a contrasting stop bead make the setup easier to read. For a first practice strip, strongly contrasting bead colors can also make the alternating rows more obvious.
What the stop bead changes
The stop bead does not change peyote stitch itself. You still string the first two rows, then add one bead at a time while passing through alternating beads.
What changes is the handling. The thread has an anchor, the base beads stay on the tail, and you can count without holding a loose end under tension. That small bit of control is why the beginning feels less fiddly.
Once the bracelet is stable and you are ready to finish the tail, remove the contrasting stop bead and secure the tail according to your pattern or clasp method.
Practice with the Sunflower bracelet pattern
If you would rather learn with a chart in front of you, the Sunflower Bracelet Beading Pattern includes a materials list, diagrams, and thread-path illustrations for a Miyuki Delica peyote bracelet.
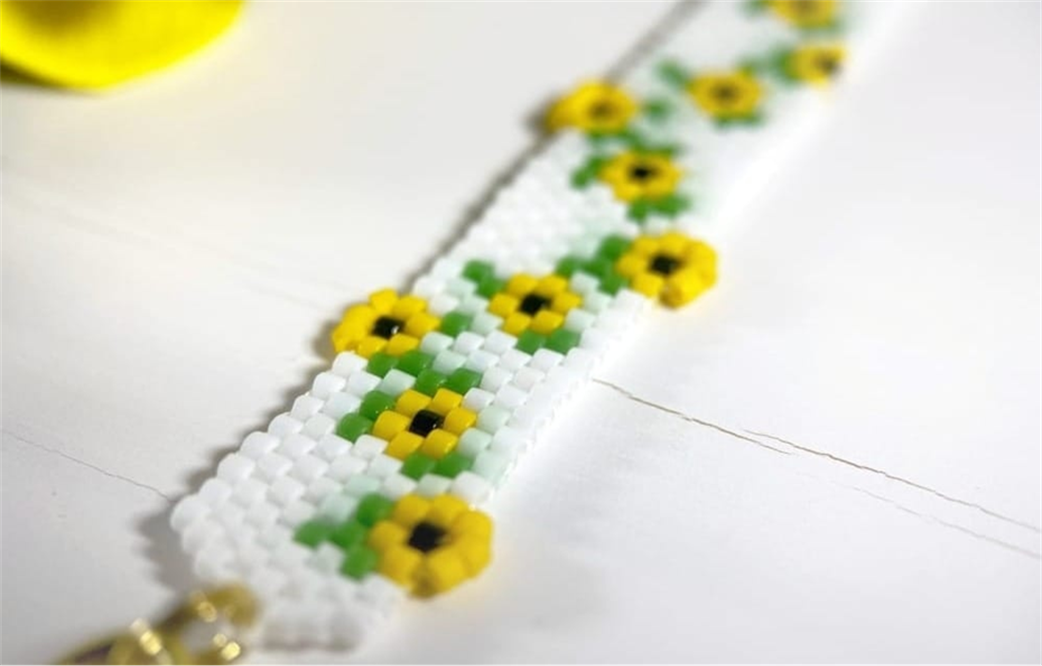
The Sunflower bracelet is one finished example of the flat peyote structure used in the tutorial.
Start by setting one contrasting bead aside. Once it is holding the thread, string the first two rows and work back through them one bead at a time. By the third row, the pattern stops looking theoretical and starts looking like peyote.
Related reading: Loom Beading vs Peyote Stitch